
Produktų dokumentacija
Ruošiame dokumentaciją kiekvienam produktui.

Pirkite daugiau, mokėkite mažiau
Atliekant didesnius užsakymus, gali būti taikomos papildomos nuolaidos.

Palaikymas ir garantija
Mes jums padėsime. ASTRAADA gaminiams suteikiama 24 ar 30 mėnesių garantija.
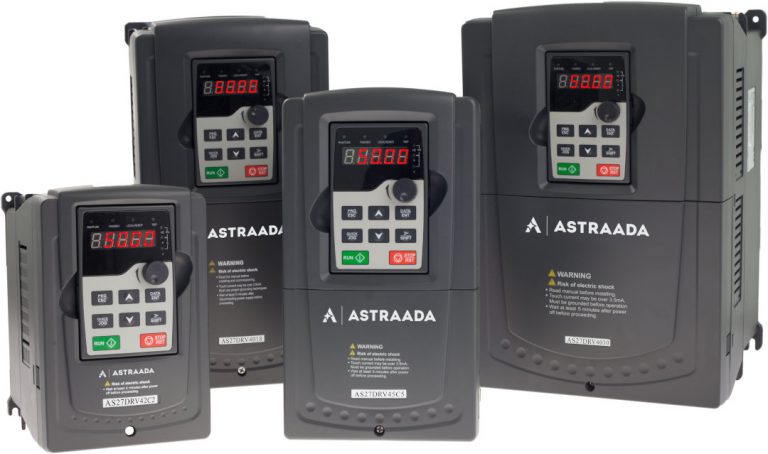
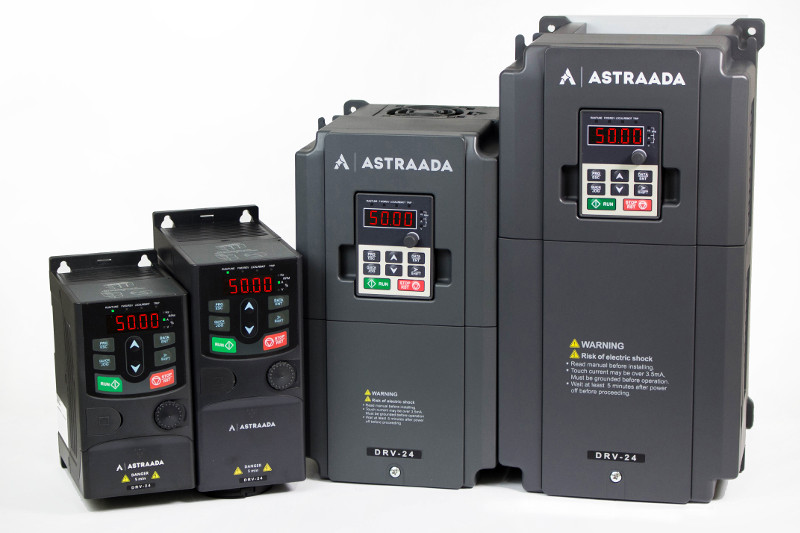
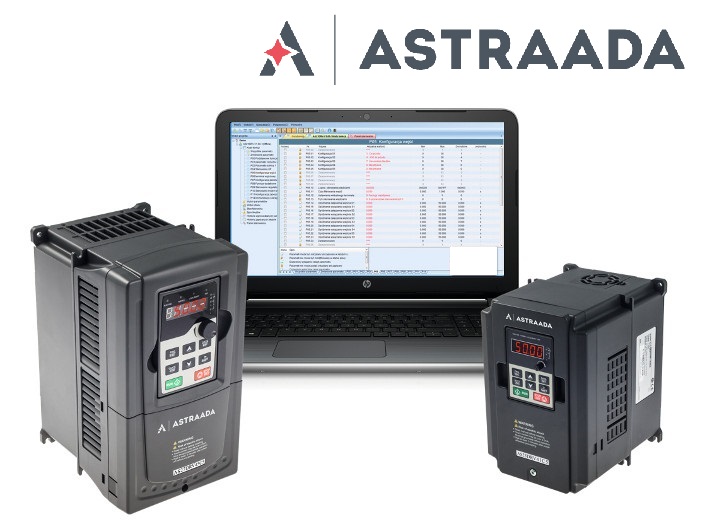
Dažnio keitiklai
Peržiūrėkite visus dažnio keitiklius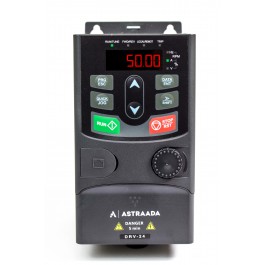 Dažnio keitiklis 0.4 kW, STO; vienfazis įėjimas / trifazis išėjimas; 30 mėnesių garantija102 EURDaugiau informacijos »
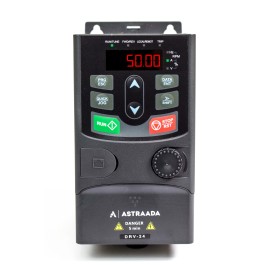 Dažnio keitiklis 0.75 kW, STO; vienfazis įėjimas / trifazis išėjimas; 30 mėnesių garantija108 EURDaugiau informacijos »
 Dažnio keitiklis 1.5 kW, STO; vienfazis įėjimas / trifazis išėjimas; 30 mėnesių garantija140 EURDaugiau informacijos »
 Dažnio keitiklis 0.75 kW, STO; trifazis įėjimas / trifazis išėjimas; 30 mėnesių garantija150 EURDaugiau informacijos »
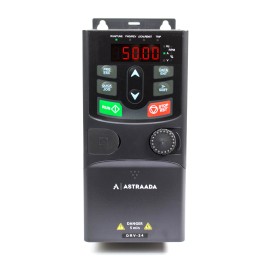 Dažnio keitiklis 1.5 kW, STO; trifazis įėjimas / trifazis išėjimas; 30 mėnesių garantija158 EURDaugiau informacijos »